I stumbled upon a technique that has some useful applications. I am calling it Lost Gutta. I'm sure it's not new, just new to me.
This involves placing your gutta line over an existing background color. You use the gutta line the same way you would use batik wax - to create shape or an edge.
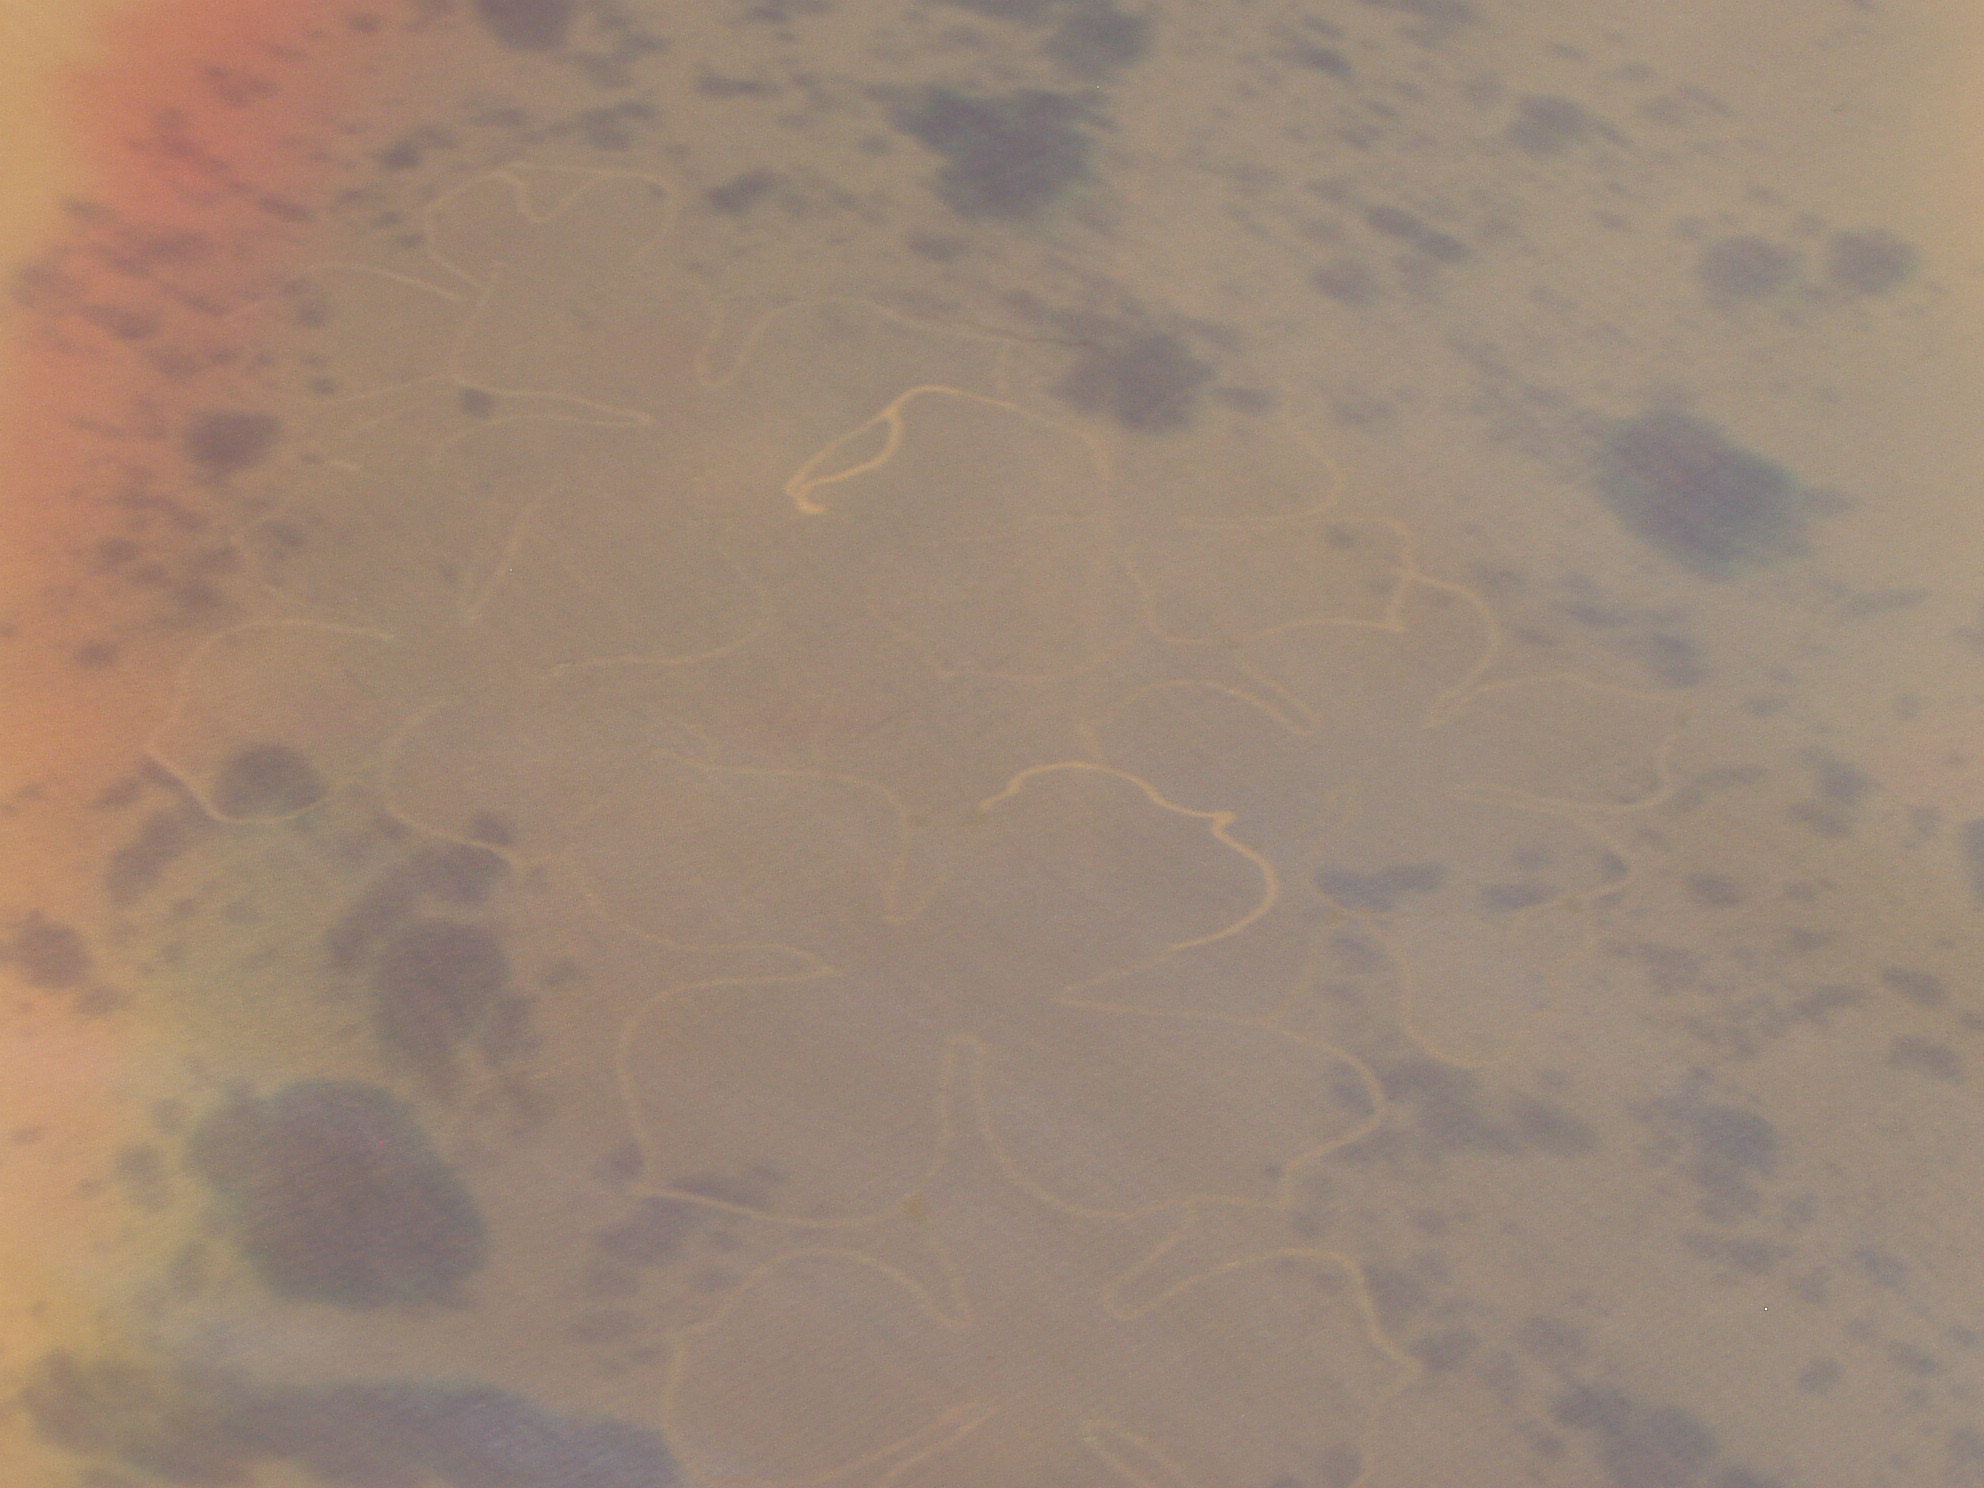
Adding the next layer of color gives you the chance to create an edge. Wherever the new color touches your gutta line, you will have an edge.
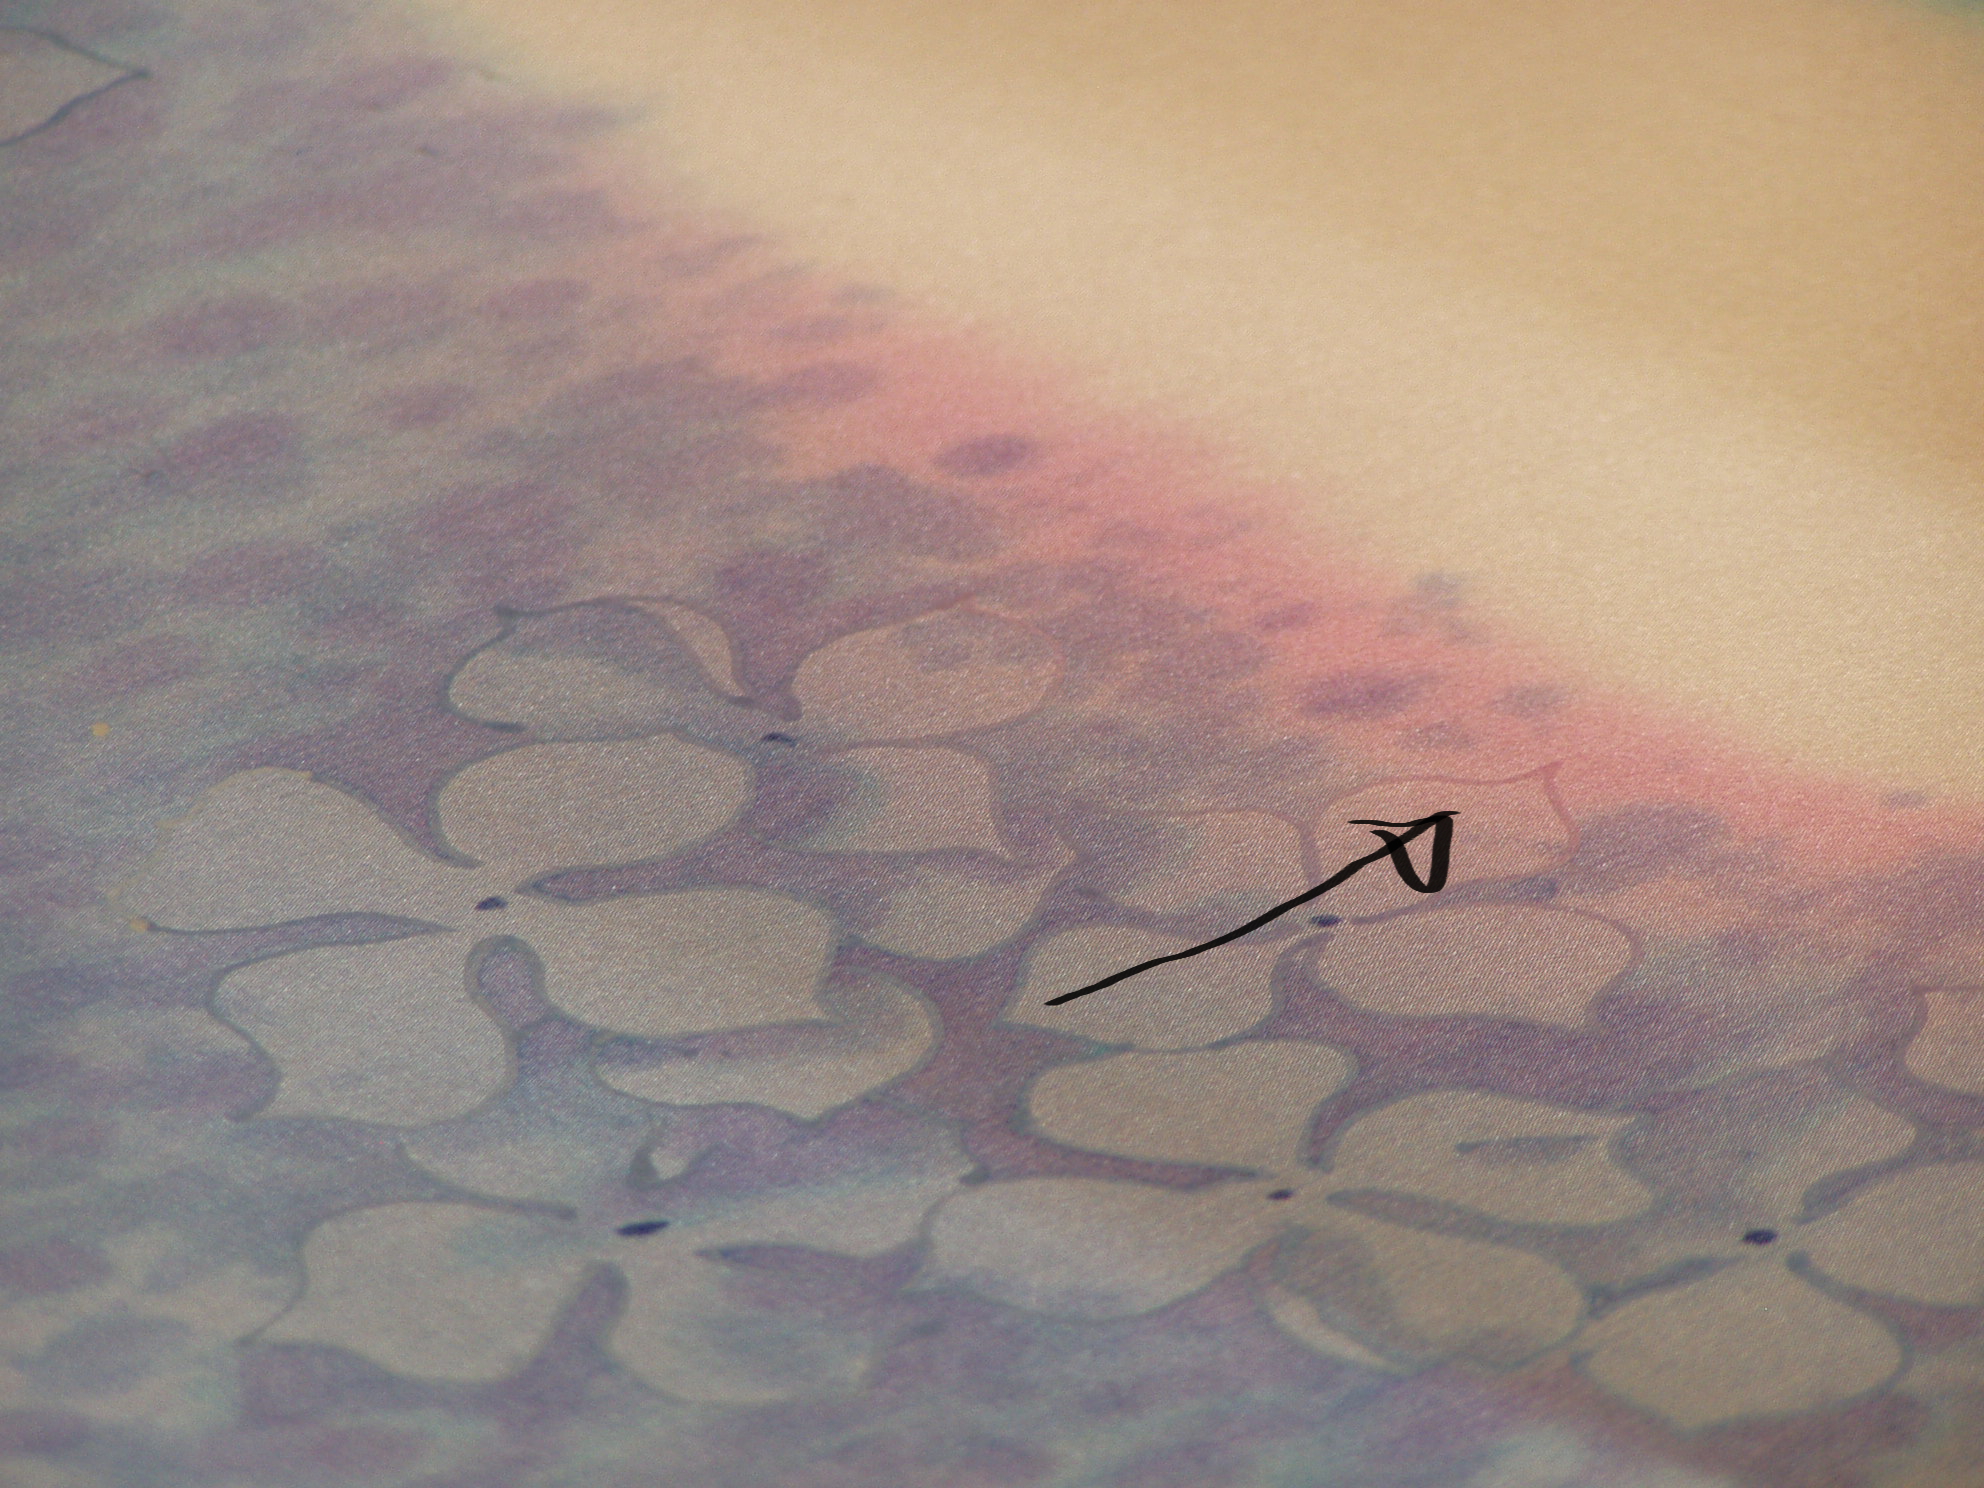
If you do not place any color next to the gutta line, like the pink flower in previous picture with the arrow, the line will be lost when the gutta is removed.
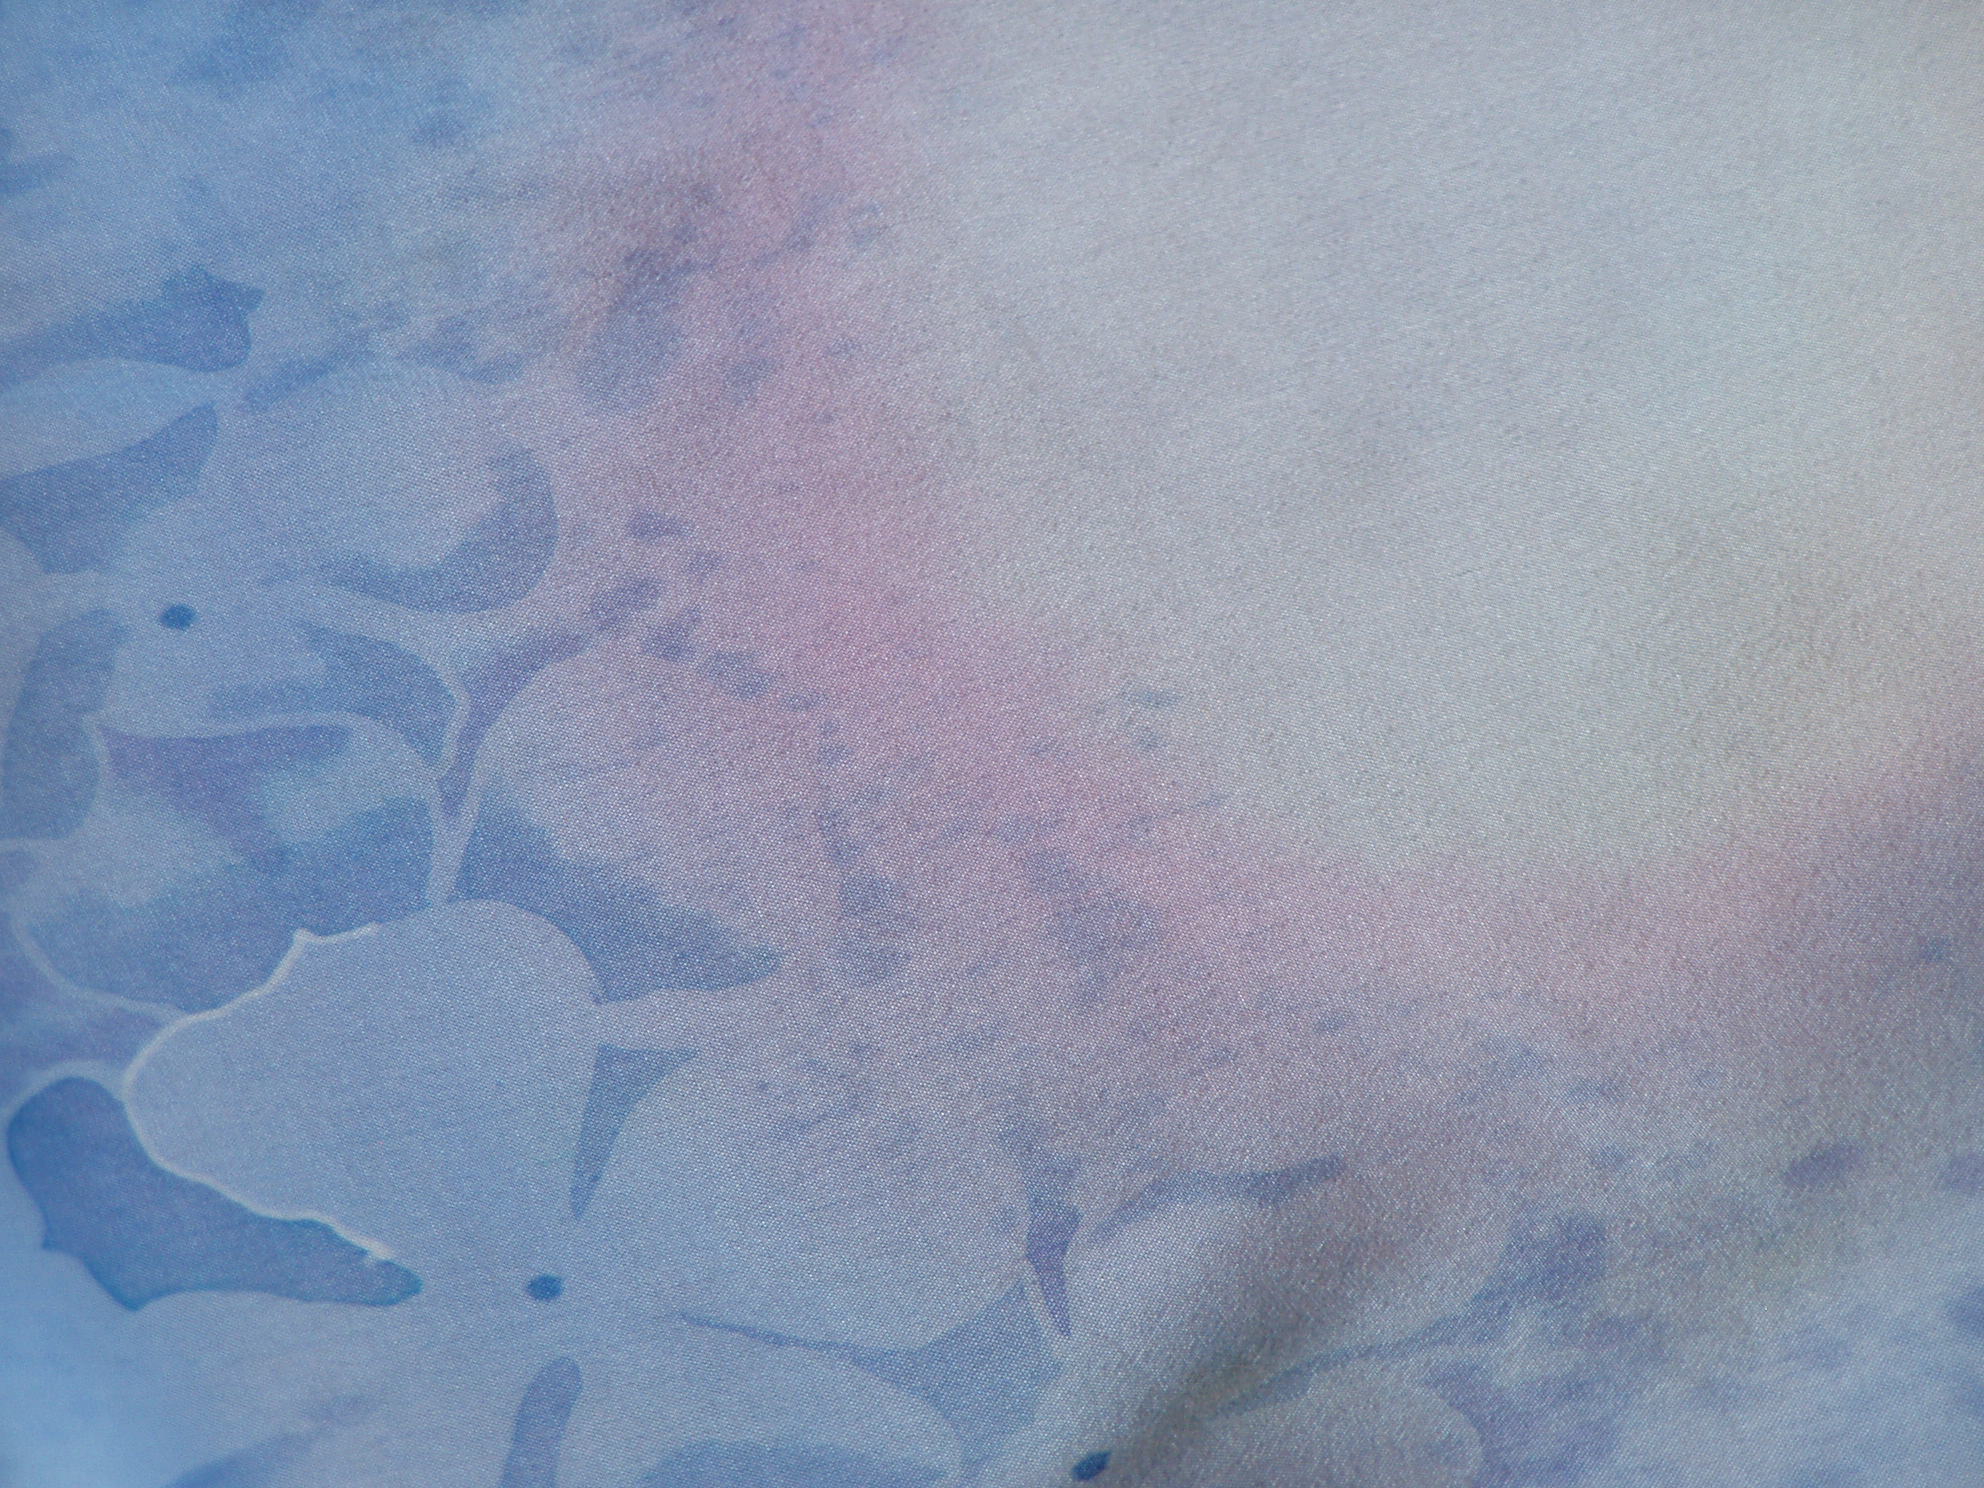
This gives you the opportunity to create edges where you want them, without having a solid gutta line around your entire design.
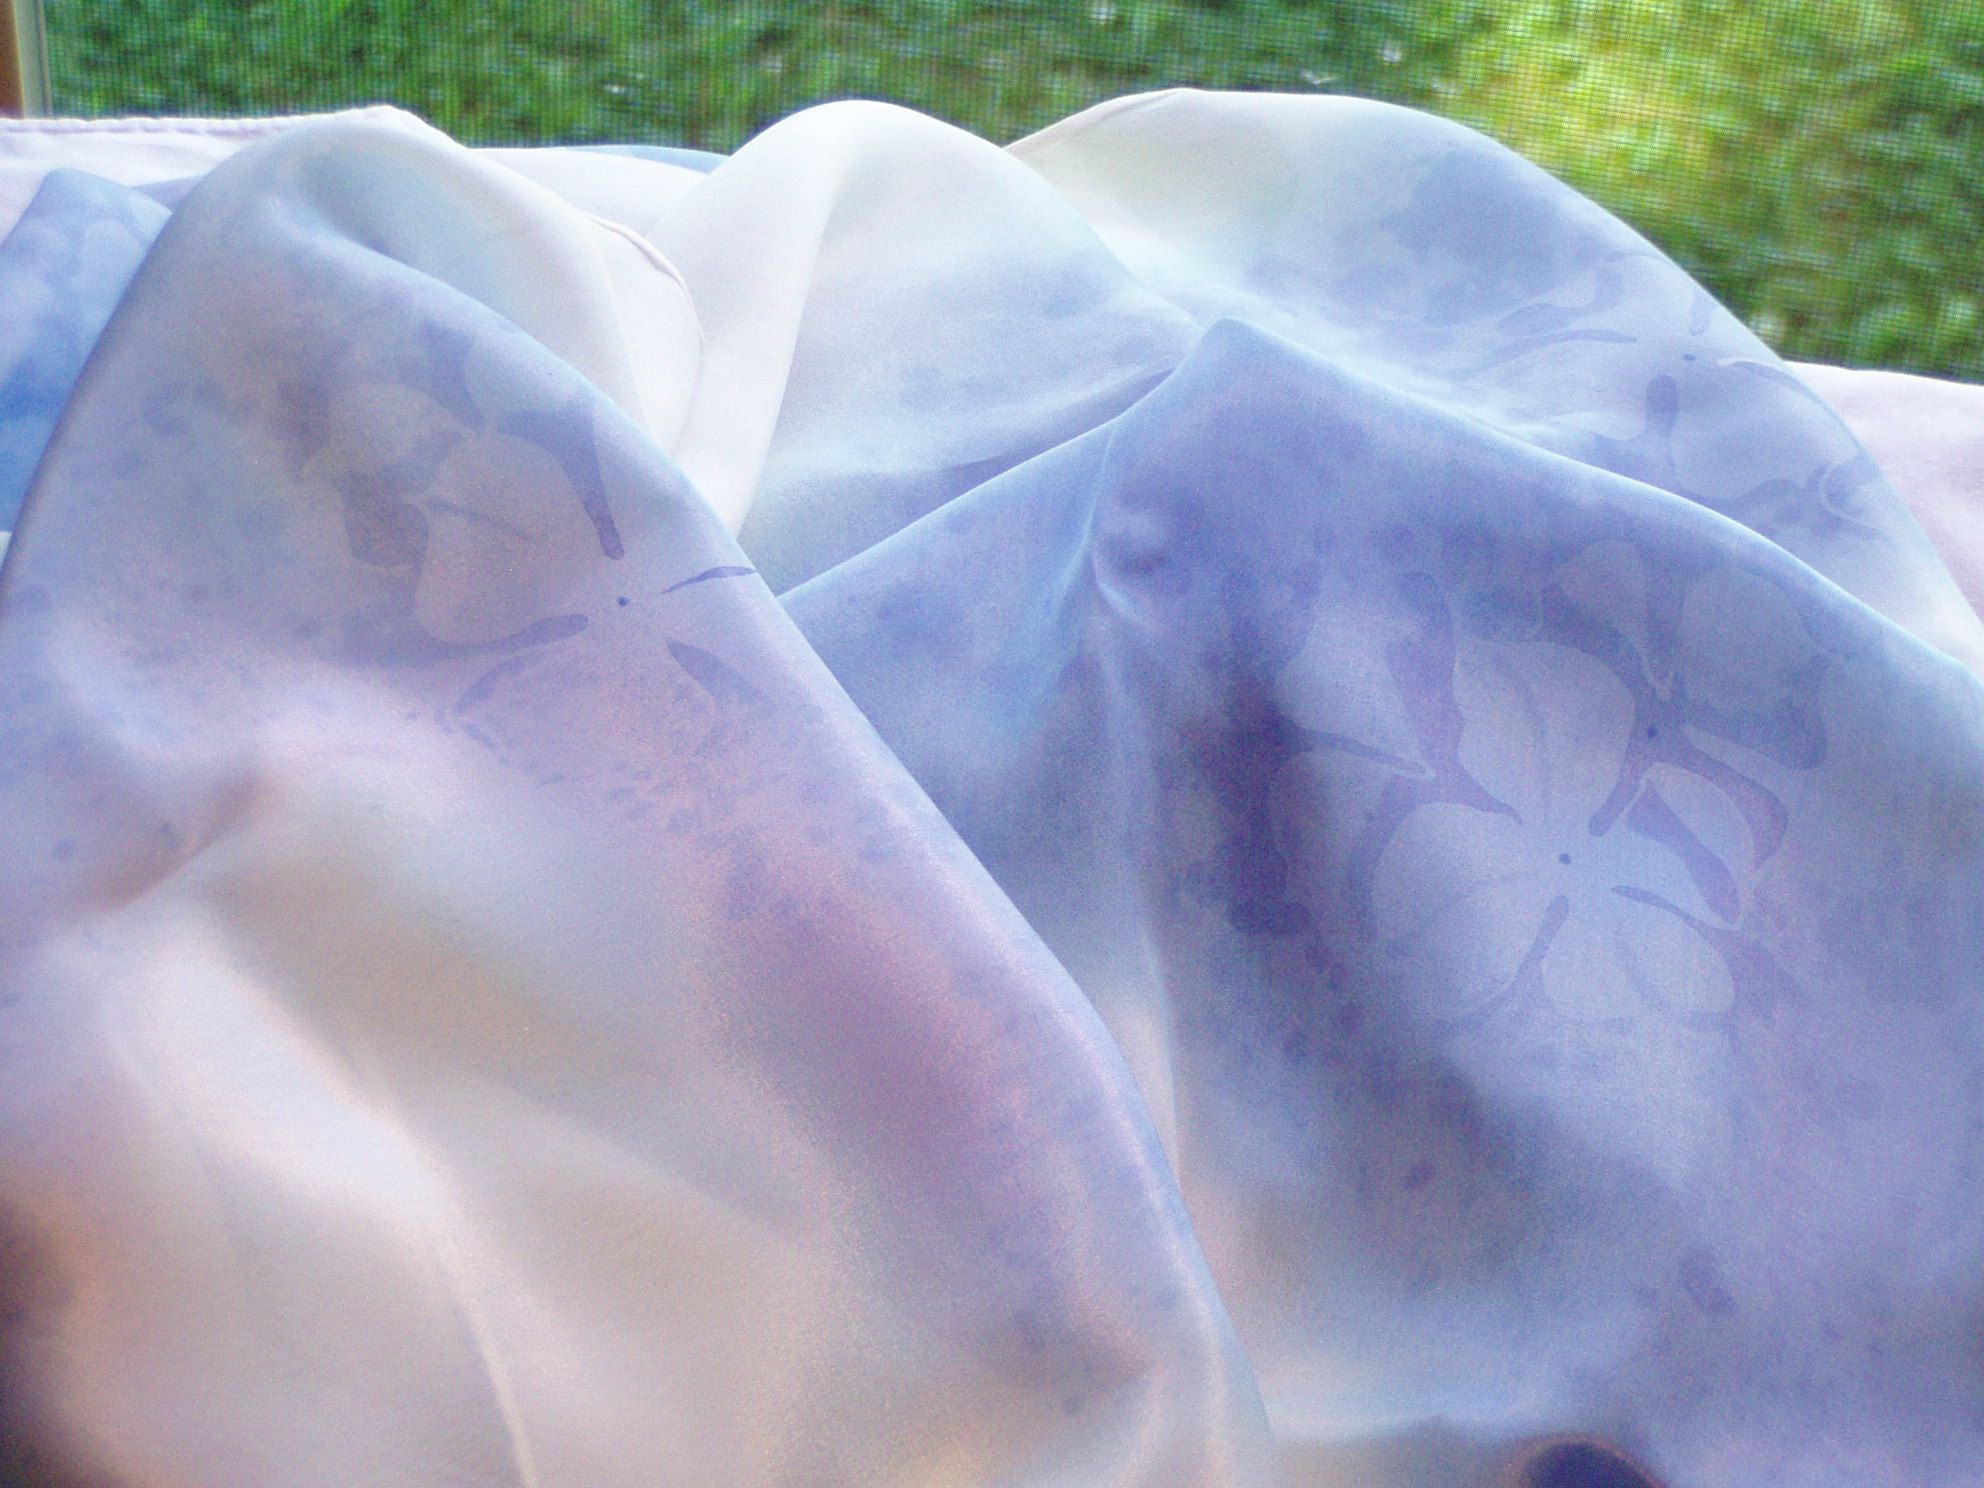
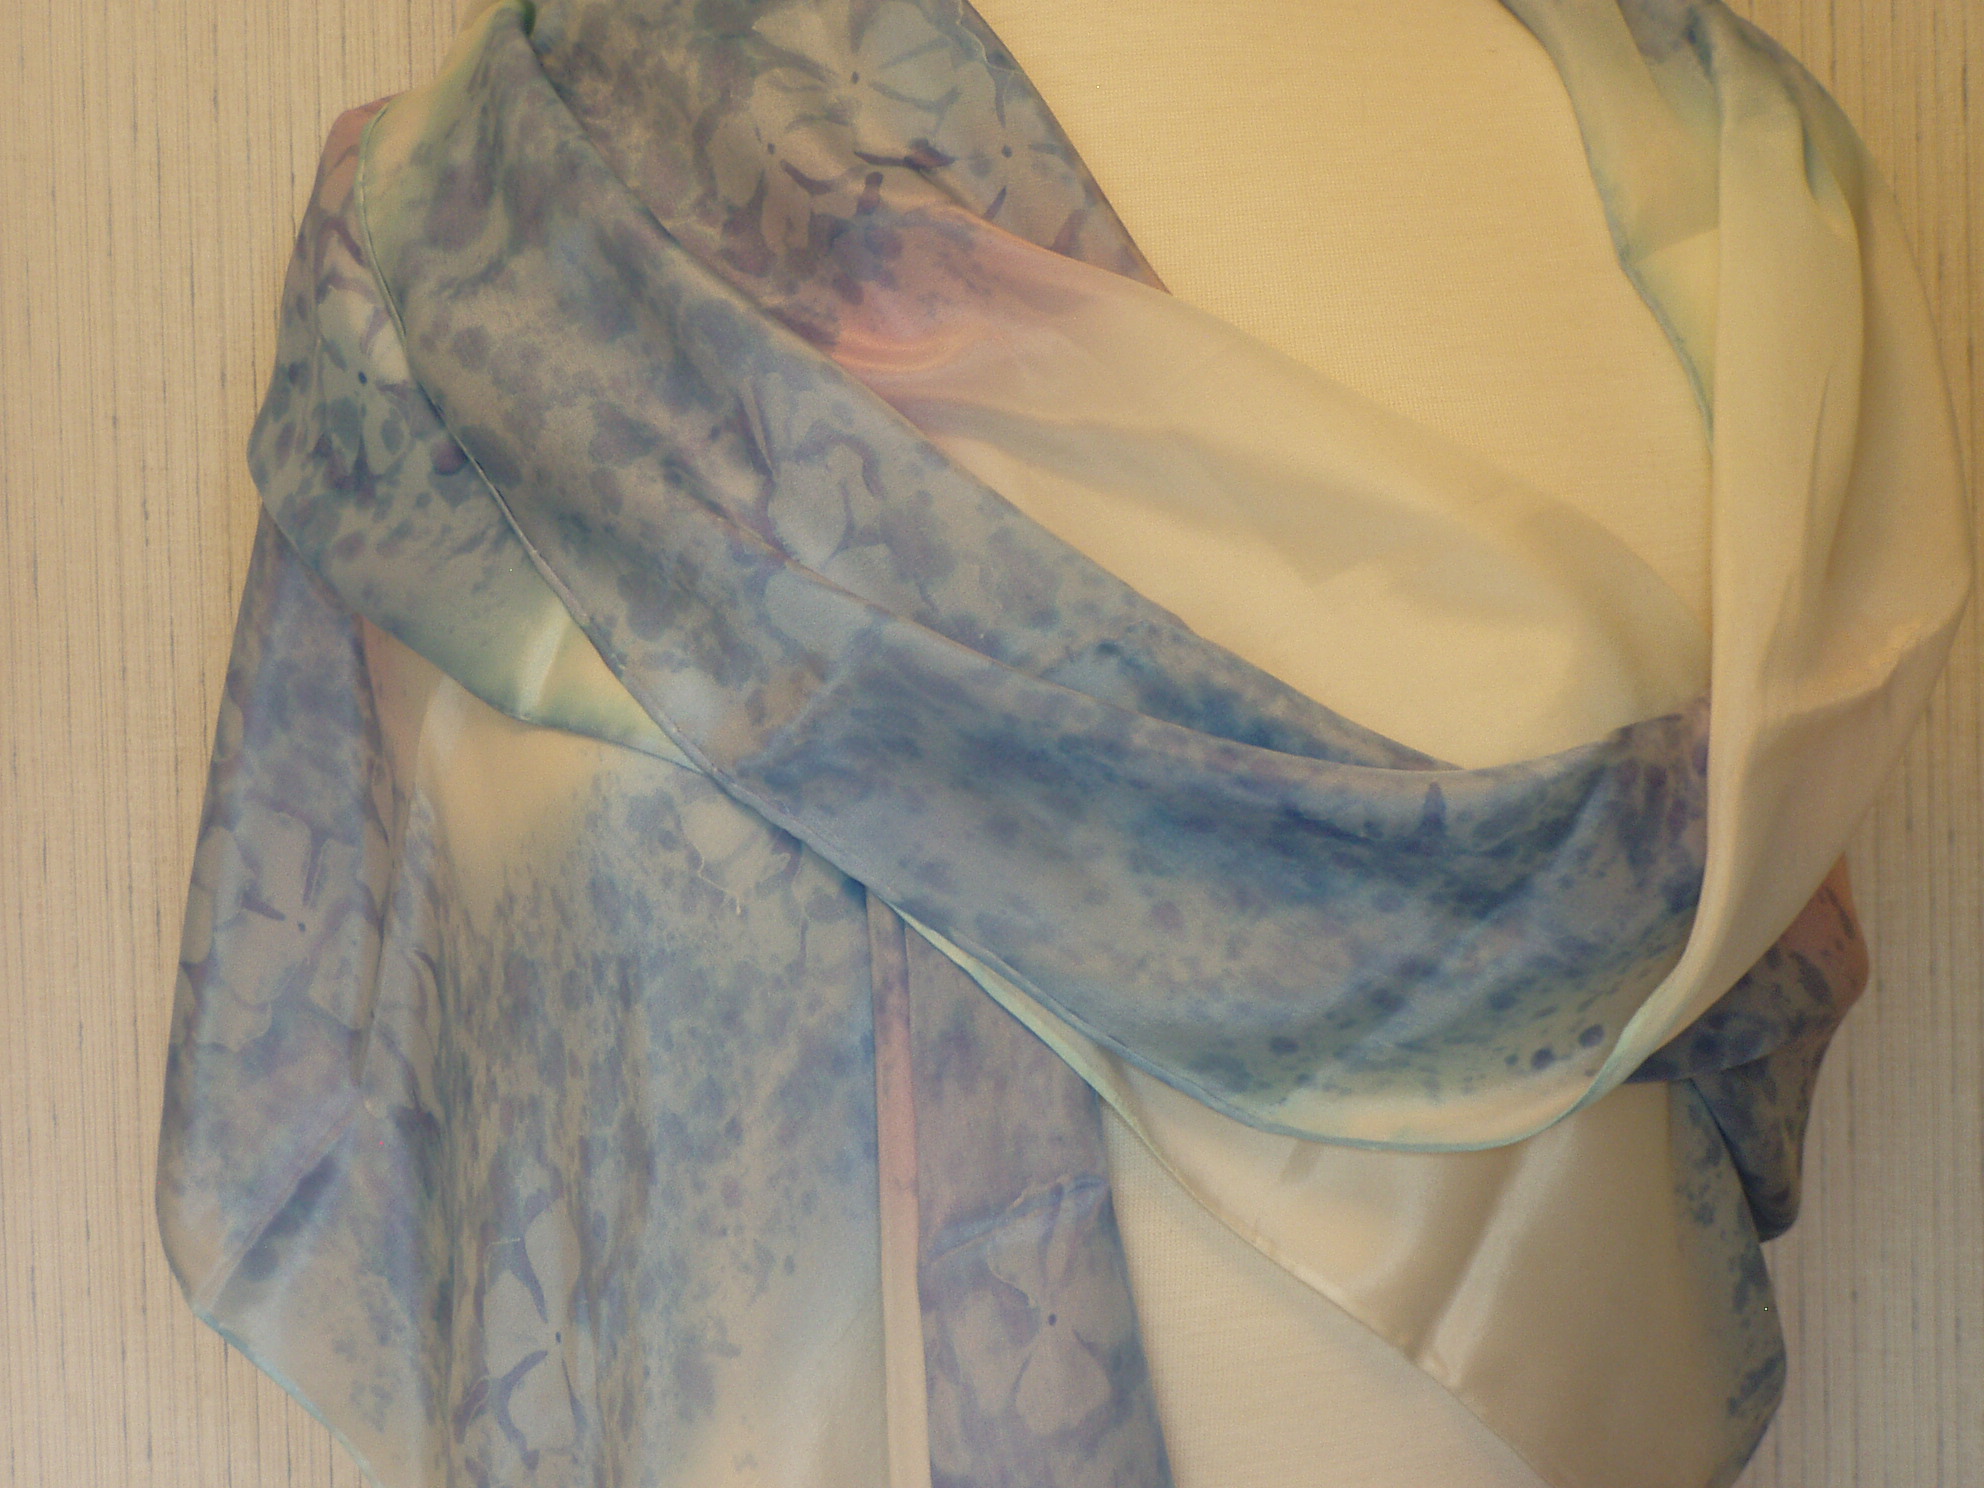
The finished scarf
Happy Creating!
Leanne Holt
Flingamo Scarves

What a lovely and delicate scarf!
ReplyDeleteGreat description of the technique.
I would recommend using a delicate, light silk for this technique. When the first layer of paint is added it is harder for gutta to get through the silk if it's too heavy, and it will cause bleeding.
I have used it in a "Autumn Leaves" scarf of mine, the https://www.etsy.com/listing/161009467/big-silk-scarf-autumn-leaves-hand?ref=shop_home_active_21
Hi Leanne , thank you ! Your tutorial is interesting !
ReplyDelete