Pages

Thursday, June 13, 2013

How to Create An Etsy Treasury

A friend recently asked me how to create a treasury on Etsy. So I thought I would put together a little tutorial.

1. Choose your theme


Perhaps you already have an idea of a color theme, a song or something else that has inspired your desire to make a collection of items you like. If so, then getting started is easy. 
Another was to form a treasury is by regularly adding items to your favorites by hearting items you like. 
Still another idea would be to be working on several treasuries simultaneously by simply (I love this new button) adding an item to a treasury you have going- in this way you can work on several treasuries at the same time, adding items you like as you come across them. 
Once you have an inspiration, whether a theme or simply one item choosing content follows fast behind.

2. Add content


To begin you must go the treasury section: etsy.com/treasury and choose to Create a List


You can then begin adding content by copying and pasting the address URL link into the boxes and pushing ok (or just Enter) to add. To edit or remove use the buttons that are provided.
  • Pro Tip! Be sure to keep your treasury private (only you/draft) until you are ready to make it known, otherwise it will become "old news" before you have even finished it. The date and time that will be listed are the date and time that you make it public.
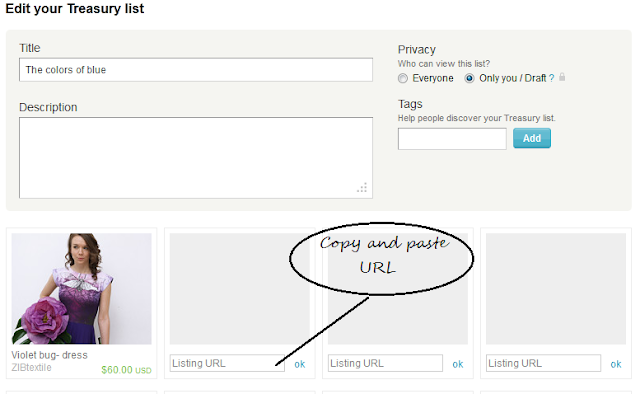
 Another easy way to add items and work on several treasuries at the same time at your leisure is to add an item to a treasury directly. I love this new feature that I just discovered this week.  I also love that it is automatically private this way and I don't have to worry about it going public until I change that setting.


But how do you look for more items to fill up your treasury? You can do color searches and within that choose items that are from various categories. Be creative, using synonyms. If you are wanting to make a red treasury theme, use other words like: cherry red, garnet, scarlet, etc.

3. Tags


Once you have everything ready, or even as you go be sure to add corresponding tags. If you are representing your team, or several teams where you included their items be sure to include those as tags (our Silk Artist team has a tag "silkartistteam" which you should include when making treasury including teammates).
On treasury start page you can see Today's Trending Tags (on right side bar), check them out to see which tags are hot or trending more in this exact moment!

4. Post


  • Do lots of rearranging and editing until you are satisfied with your treasury
  • Add a description and all 18 tags
  • Then make it public so everyone can see it (double check the privacy settings) 
  • And SAVE it to make it LIVE
  • After posting it, you can easily share it on Facebook, Twitter or Pinterest by buttons on right side
  • Your treasury is worth of noticing, so share it on your teams (where appropriate). Our team has a thread for your treasuries(which includes your teammates) here: silk-artists/treasuries
  • Enjoy your comments
Good luck making treasuries.

This was a tutorial on how I do it since someone asked :) But I am sure there are lots of tips out there.

Here is the Etsy Guide on Treasuries
Another great Blog Post on Creating a Treasury

Updated on 23.11.2013. by Zane


Sunday, May 19, 2013

Featured Artist- Tina Gleave

https://img0.etsystatic.com/013/0/8527110/icm_fullxfull.27243080_mt4fr65qbq8kgsssw0wk.jpg

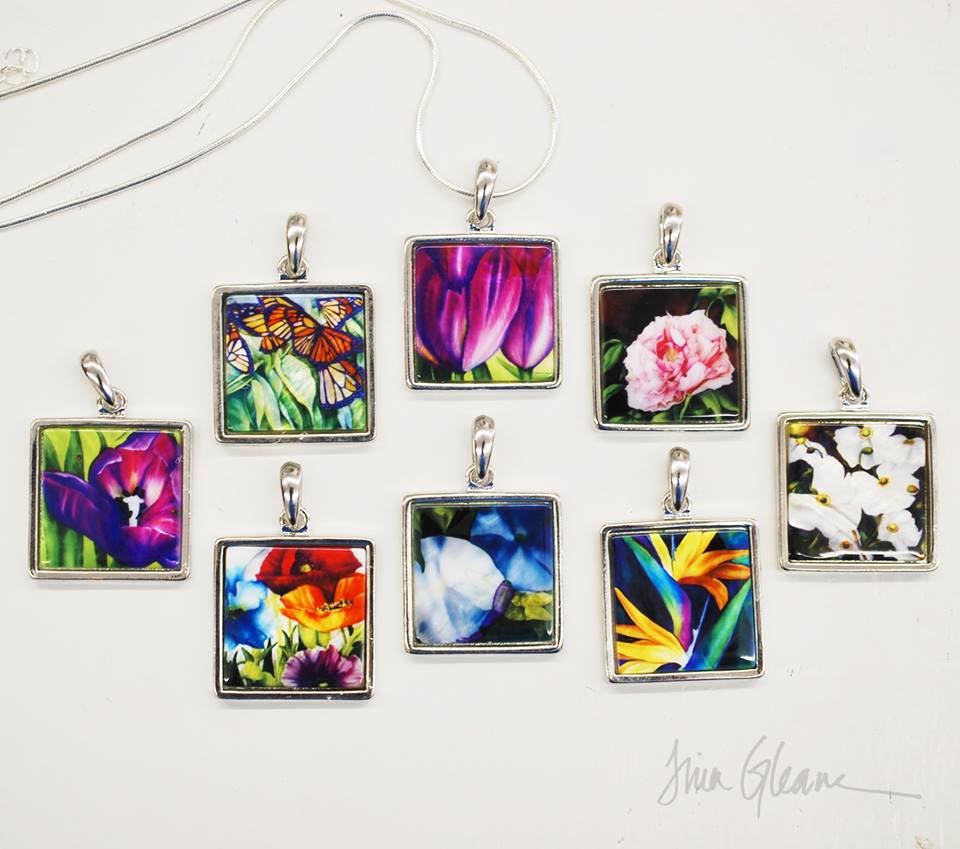
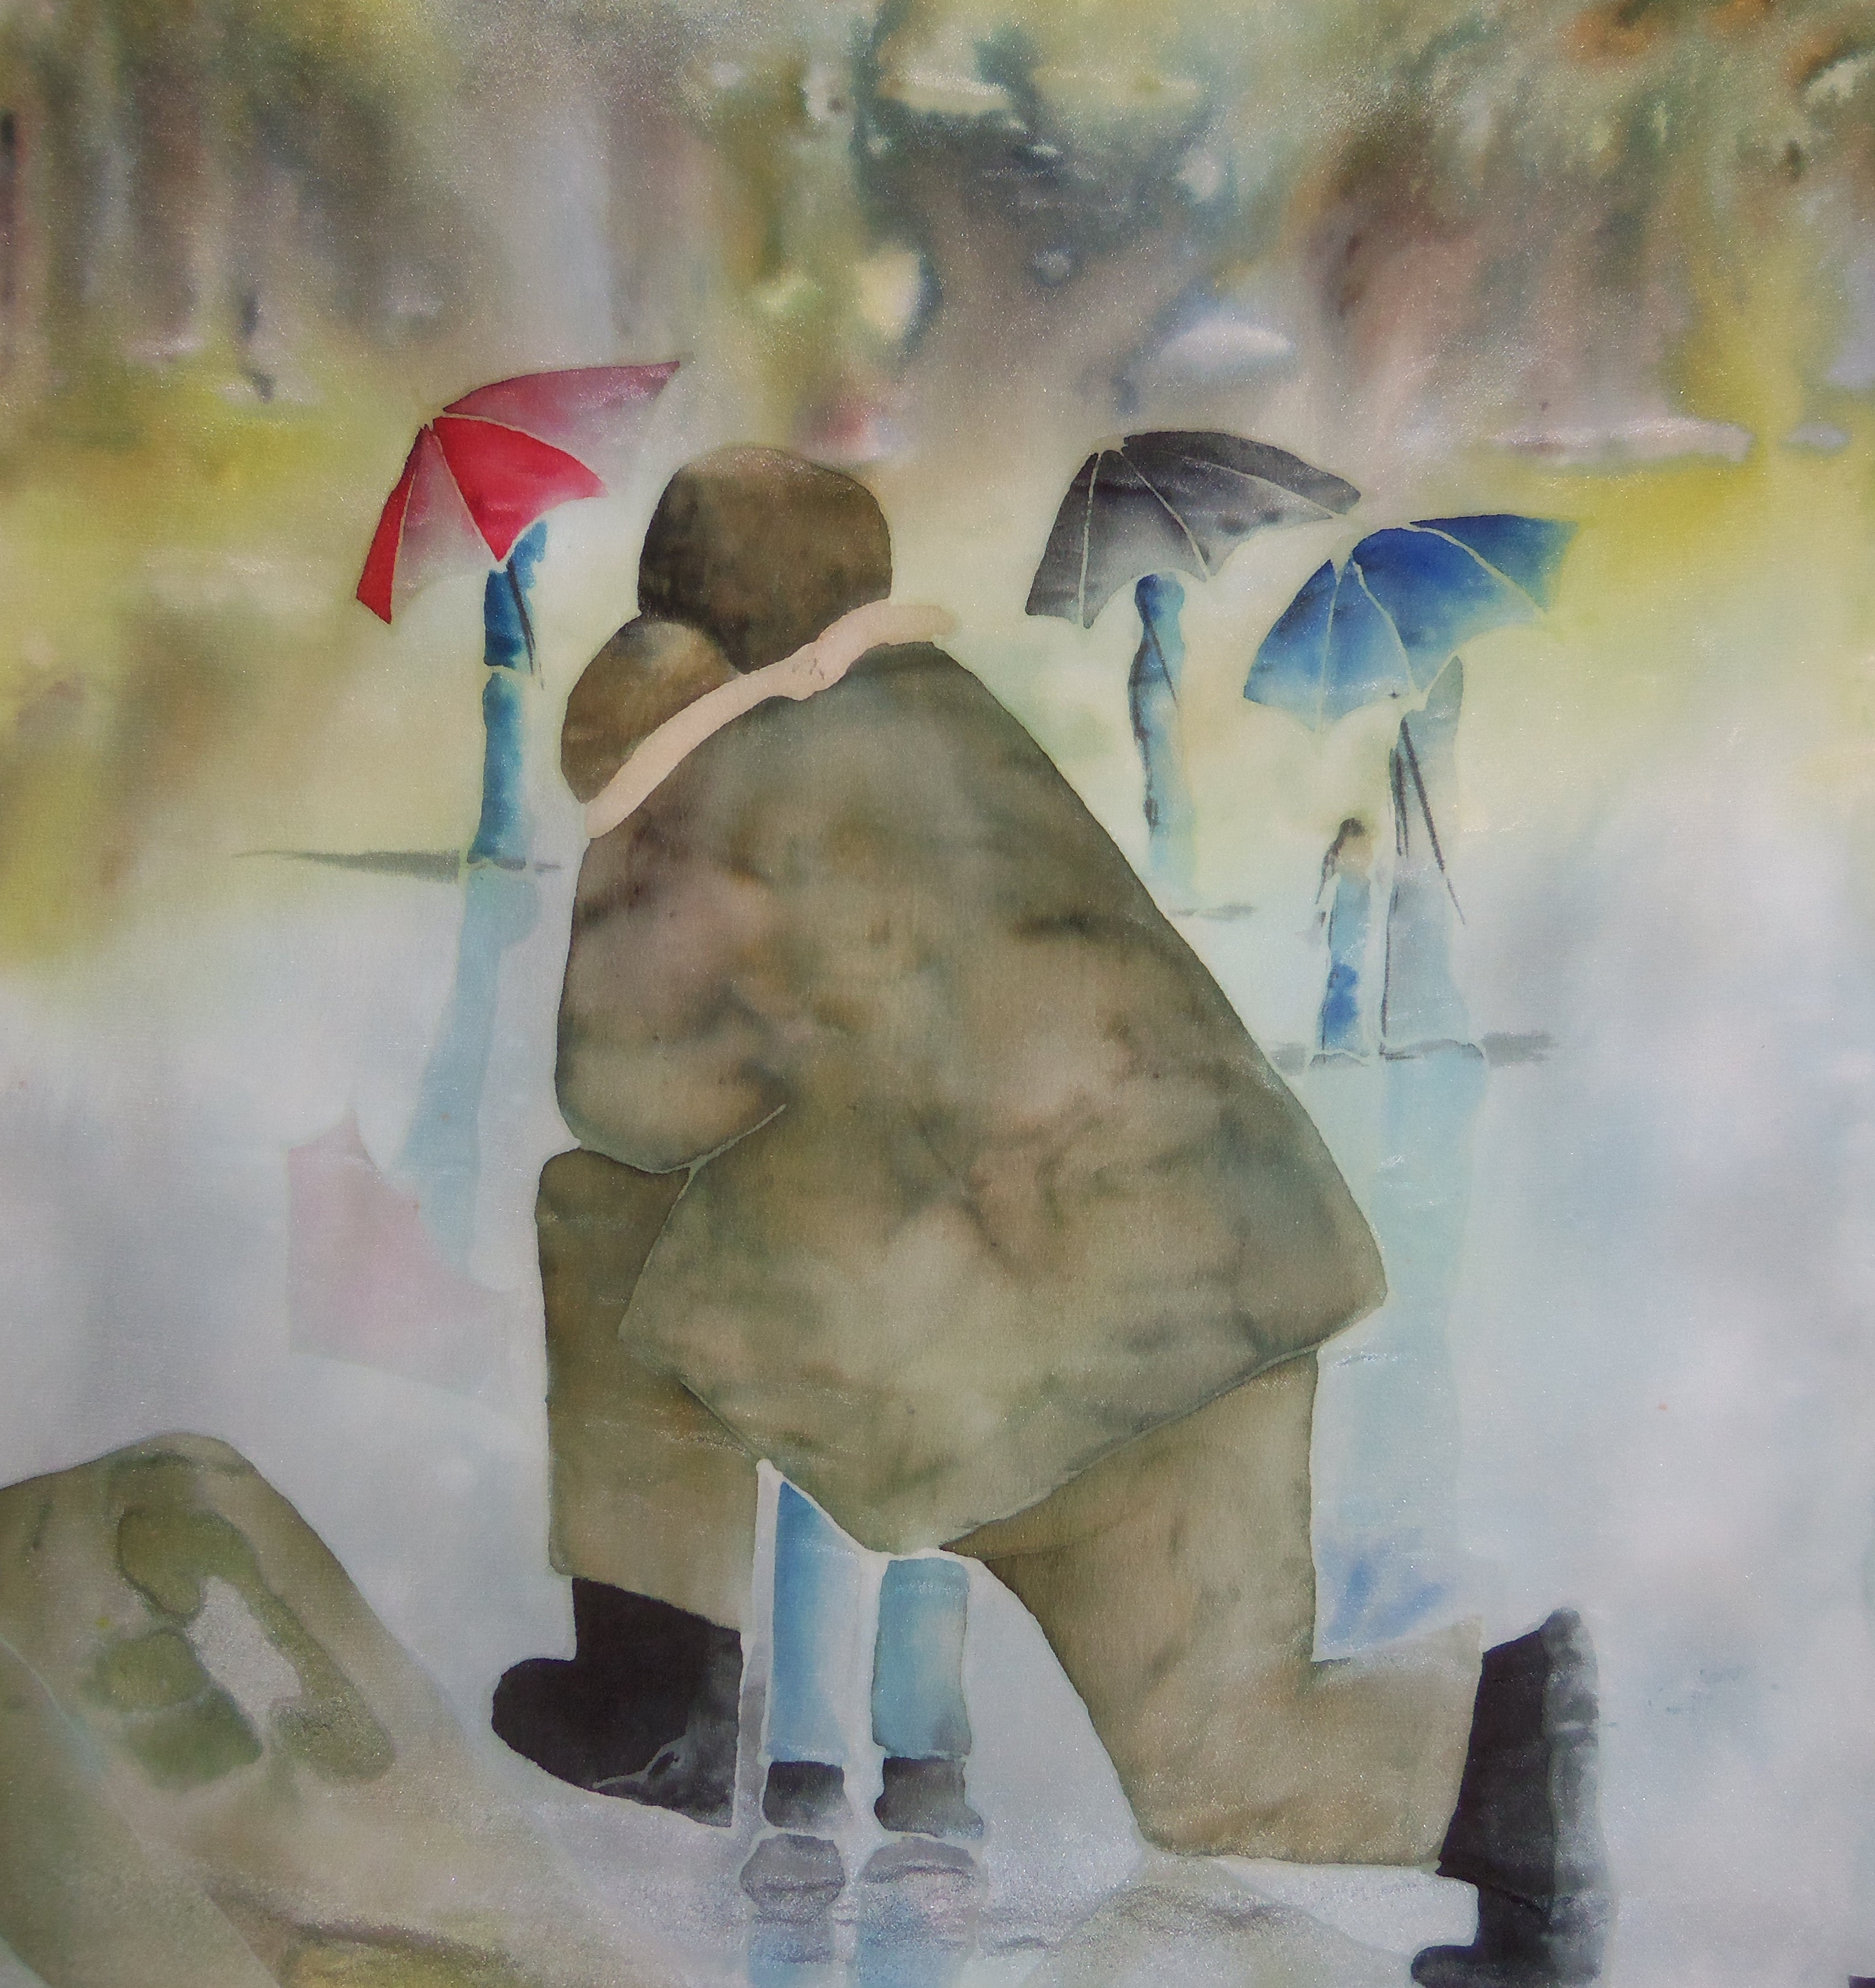
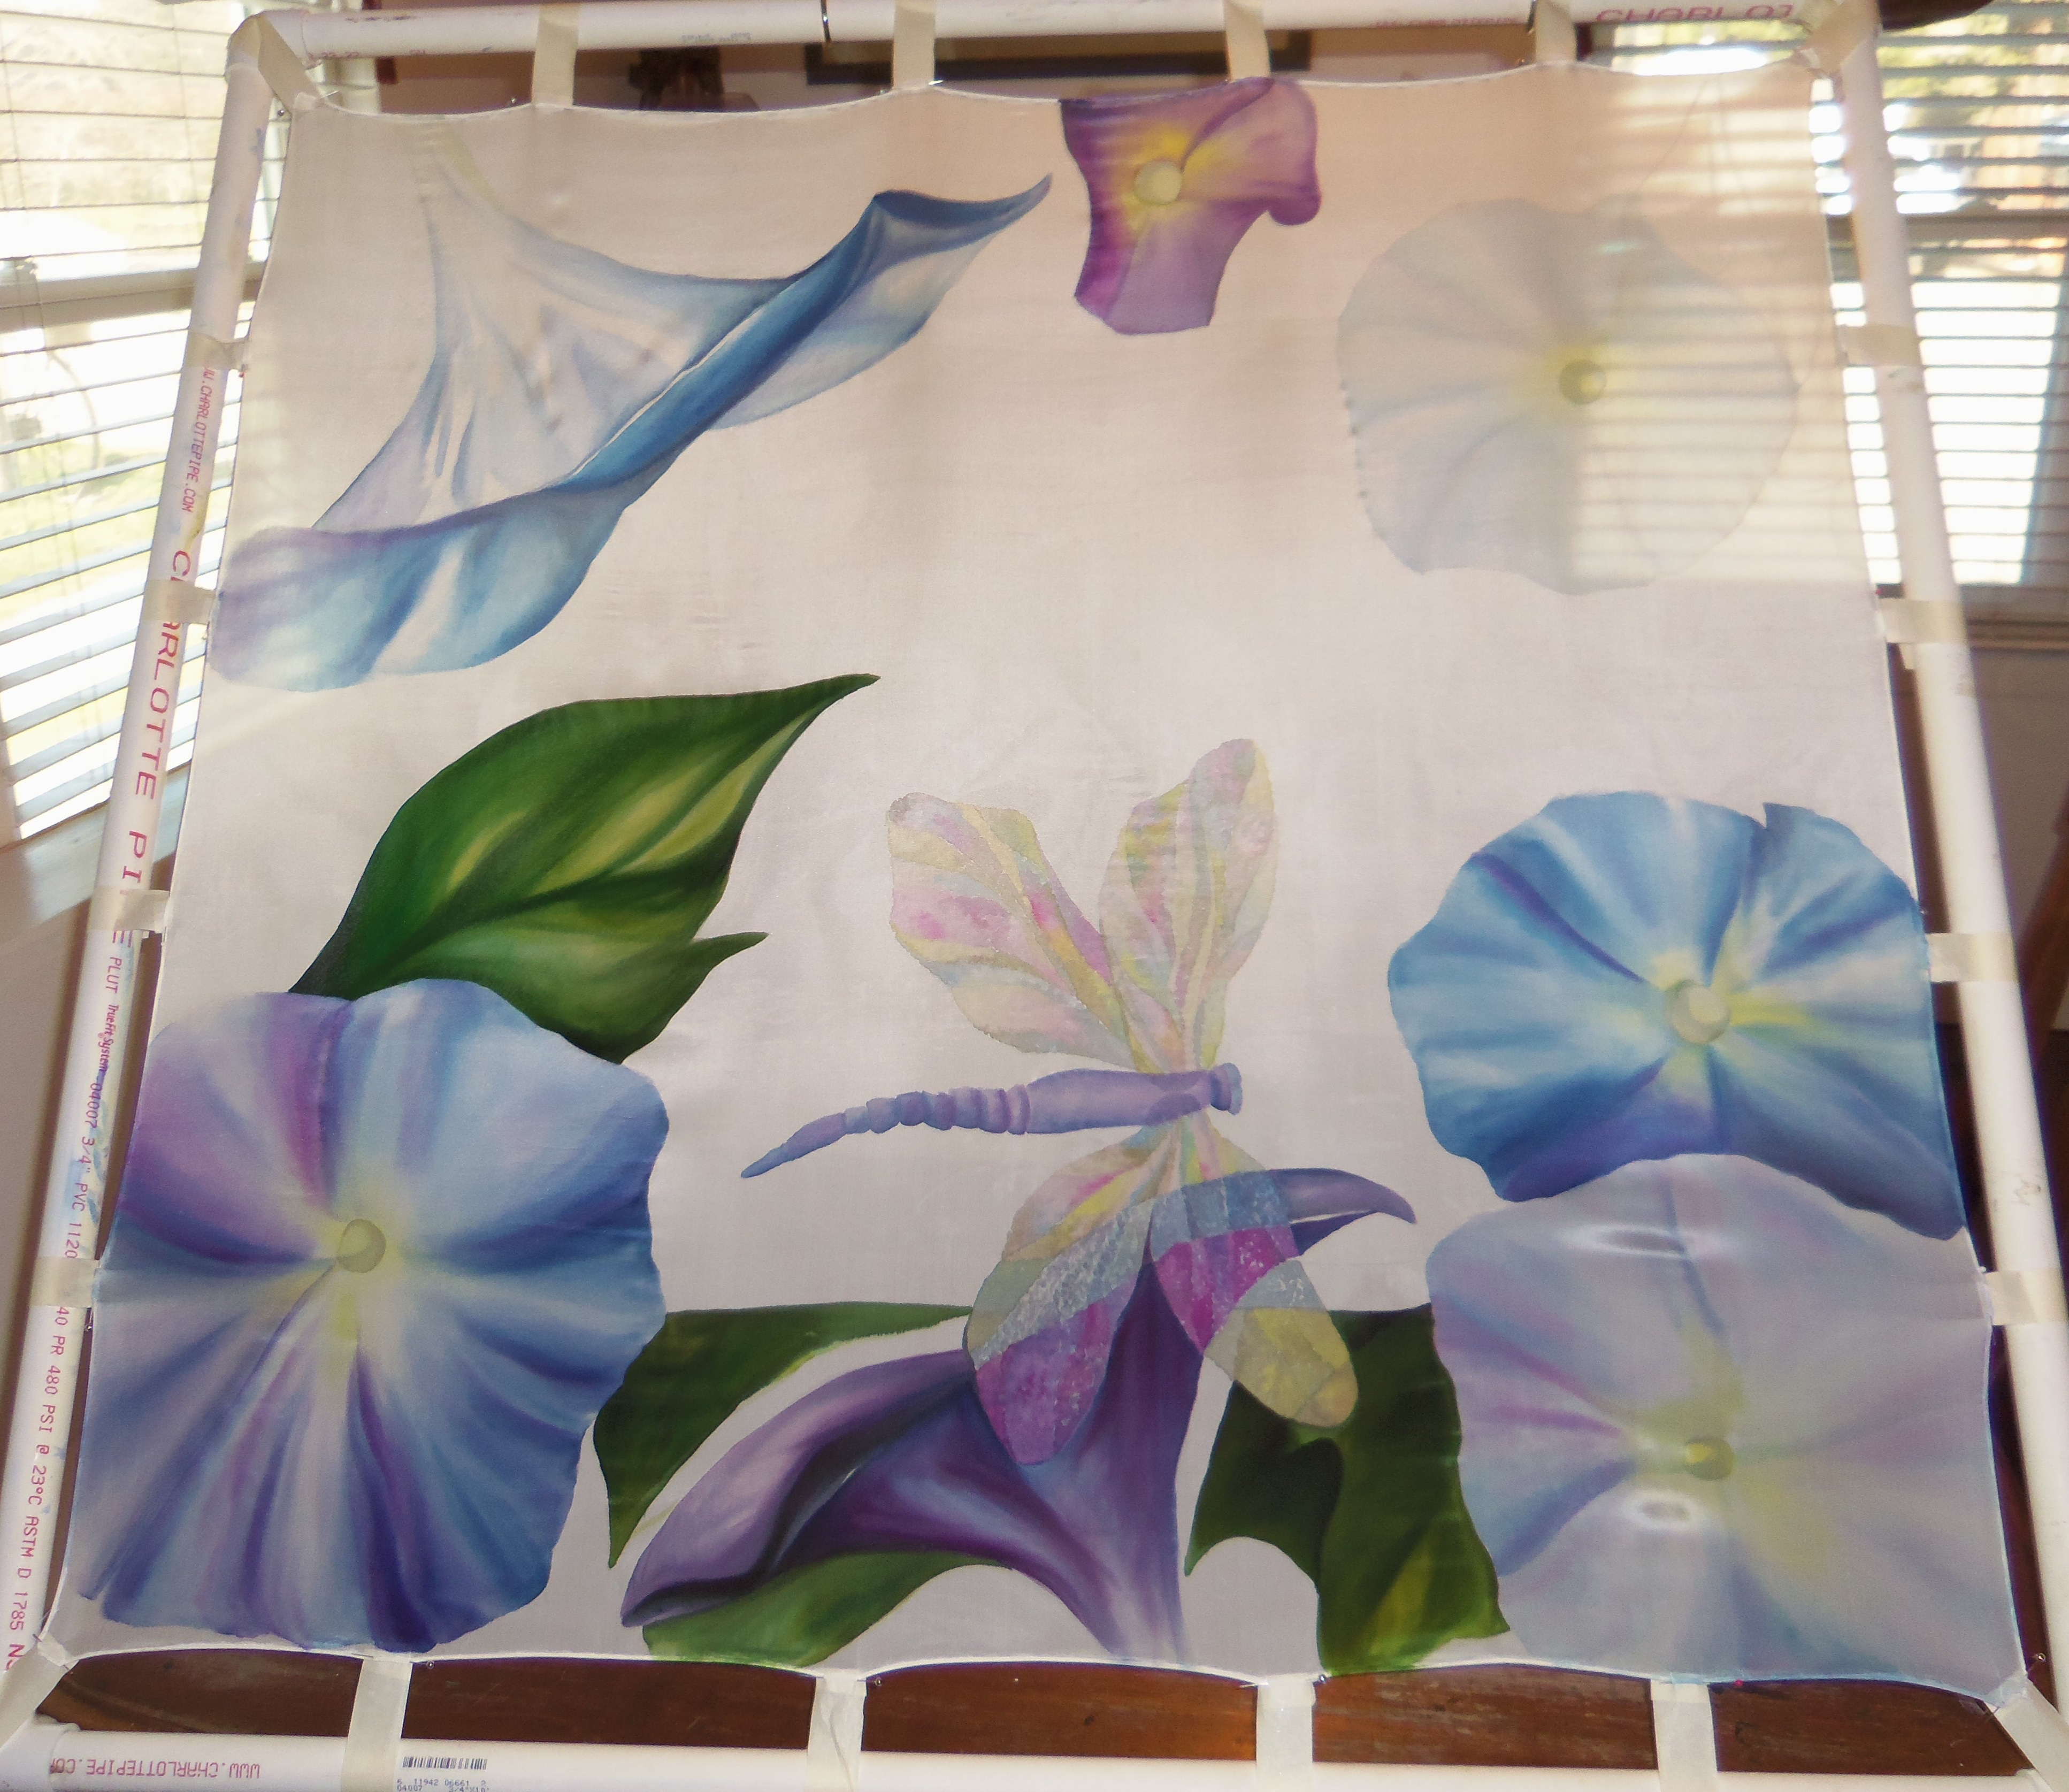
Today I have the pleasure of introducing you to Tina Gleave. Her work is amazing, bright, and so lifelike. I am so glad to have her join the silk painting team and to get to know her a bit through this interview.

Tell us a bit about you:

I moved to Northern California in 1993 to attend Humboldt State University. I entered college an Art Therapy major, but felt very emotionally drained from the Therapy of Psychology. Ultimately, I earned my Business Administration Degree with emphasis in Management, Marketing and Accounting.

https://img3.etsystatic.com/012/0/8527110/icm_fullxfull.27249527_mgz70aboeiskcsg0kk8g.jpg
When I started my family, I earned my Early Childhood Education Degree and now own and teach Pre-School.


I ultimately put art on hold for at least 10 years. My children and business were my life. So, in August 2011, when a friend offered me an Art Therapy ‘Scarf Painting’ night out-I was excited to do something artistic again after being dormant for so long.

Why silk painting?

I have always been attracted to Watercolor Paintings, but have never found my skill in that medium. My paper would always end up a holy mess, overworked and never capturing the color I wanted. When I started working on Silk, it literally captivated me! The rich, vibrant colors just struck a chord in my heart that I had never heard before. That first night painting the scarf, I stayed for hours painting my heart out. My friend didn’t have the heart to send me on my way. She could sense something had been stirred in my soul that was literally playing out before our eyes. The silk seems to be like the Watercolor I was always searching for…

What inspires your paintings?

https://img2.etsystatic.com/016/0/8527110/icm_fullxfull.27241534_kzf58tdq9f4o4sg4ogs4.jpg

Light and Nature are great inspirations to me. I’m an avid reader and am constantly trying to learn new applications and techniques on silk. I love pushing the limits with my art and get excited for the challenge of that next highly difficult project.

What is your work space like?

My work space is my kitchen table right now. However, I am setting up our recently vacated studio apartment as my NEW Art Space. My family is fed up with all of my stuff overflowing in the main house.

What are you currently painting?

 https://img1.etsystatic.com/013/0/8527110/icm_fullxfull.27249529_ln0ckg16qdwsw48os8cg.jpg

Currently, I am on the Steering Committee for the North Coast Open Studios Tour. www.northcoastopenstudios.com It takes place the first two weekends in June. So I’m painting like mad to fill my Art Space for the weekend.

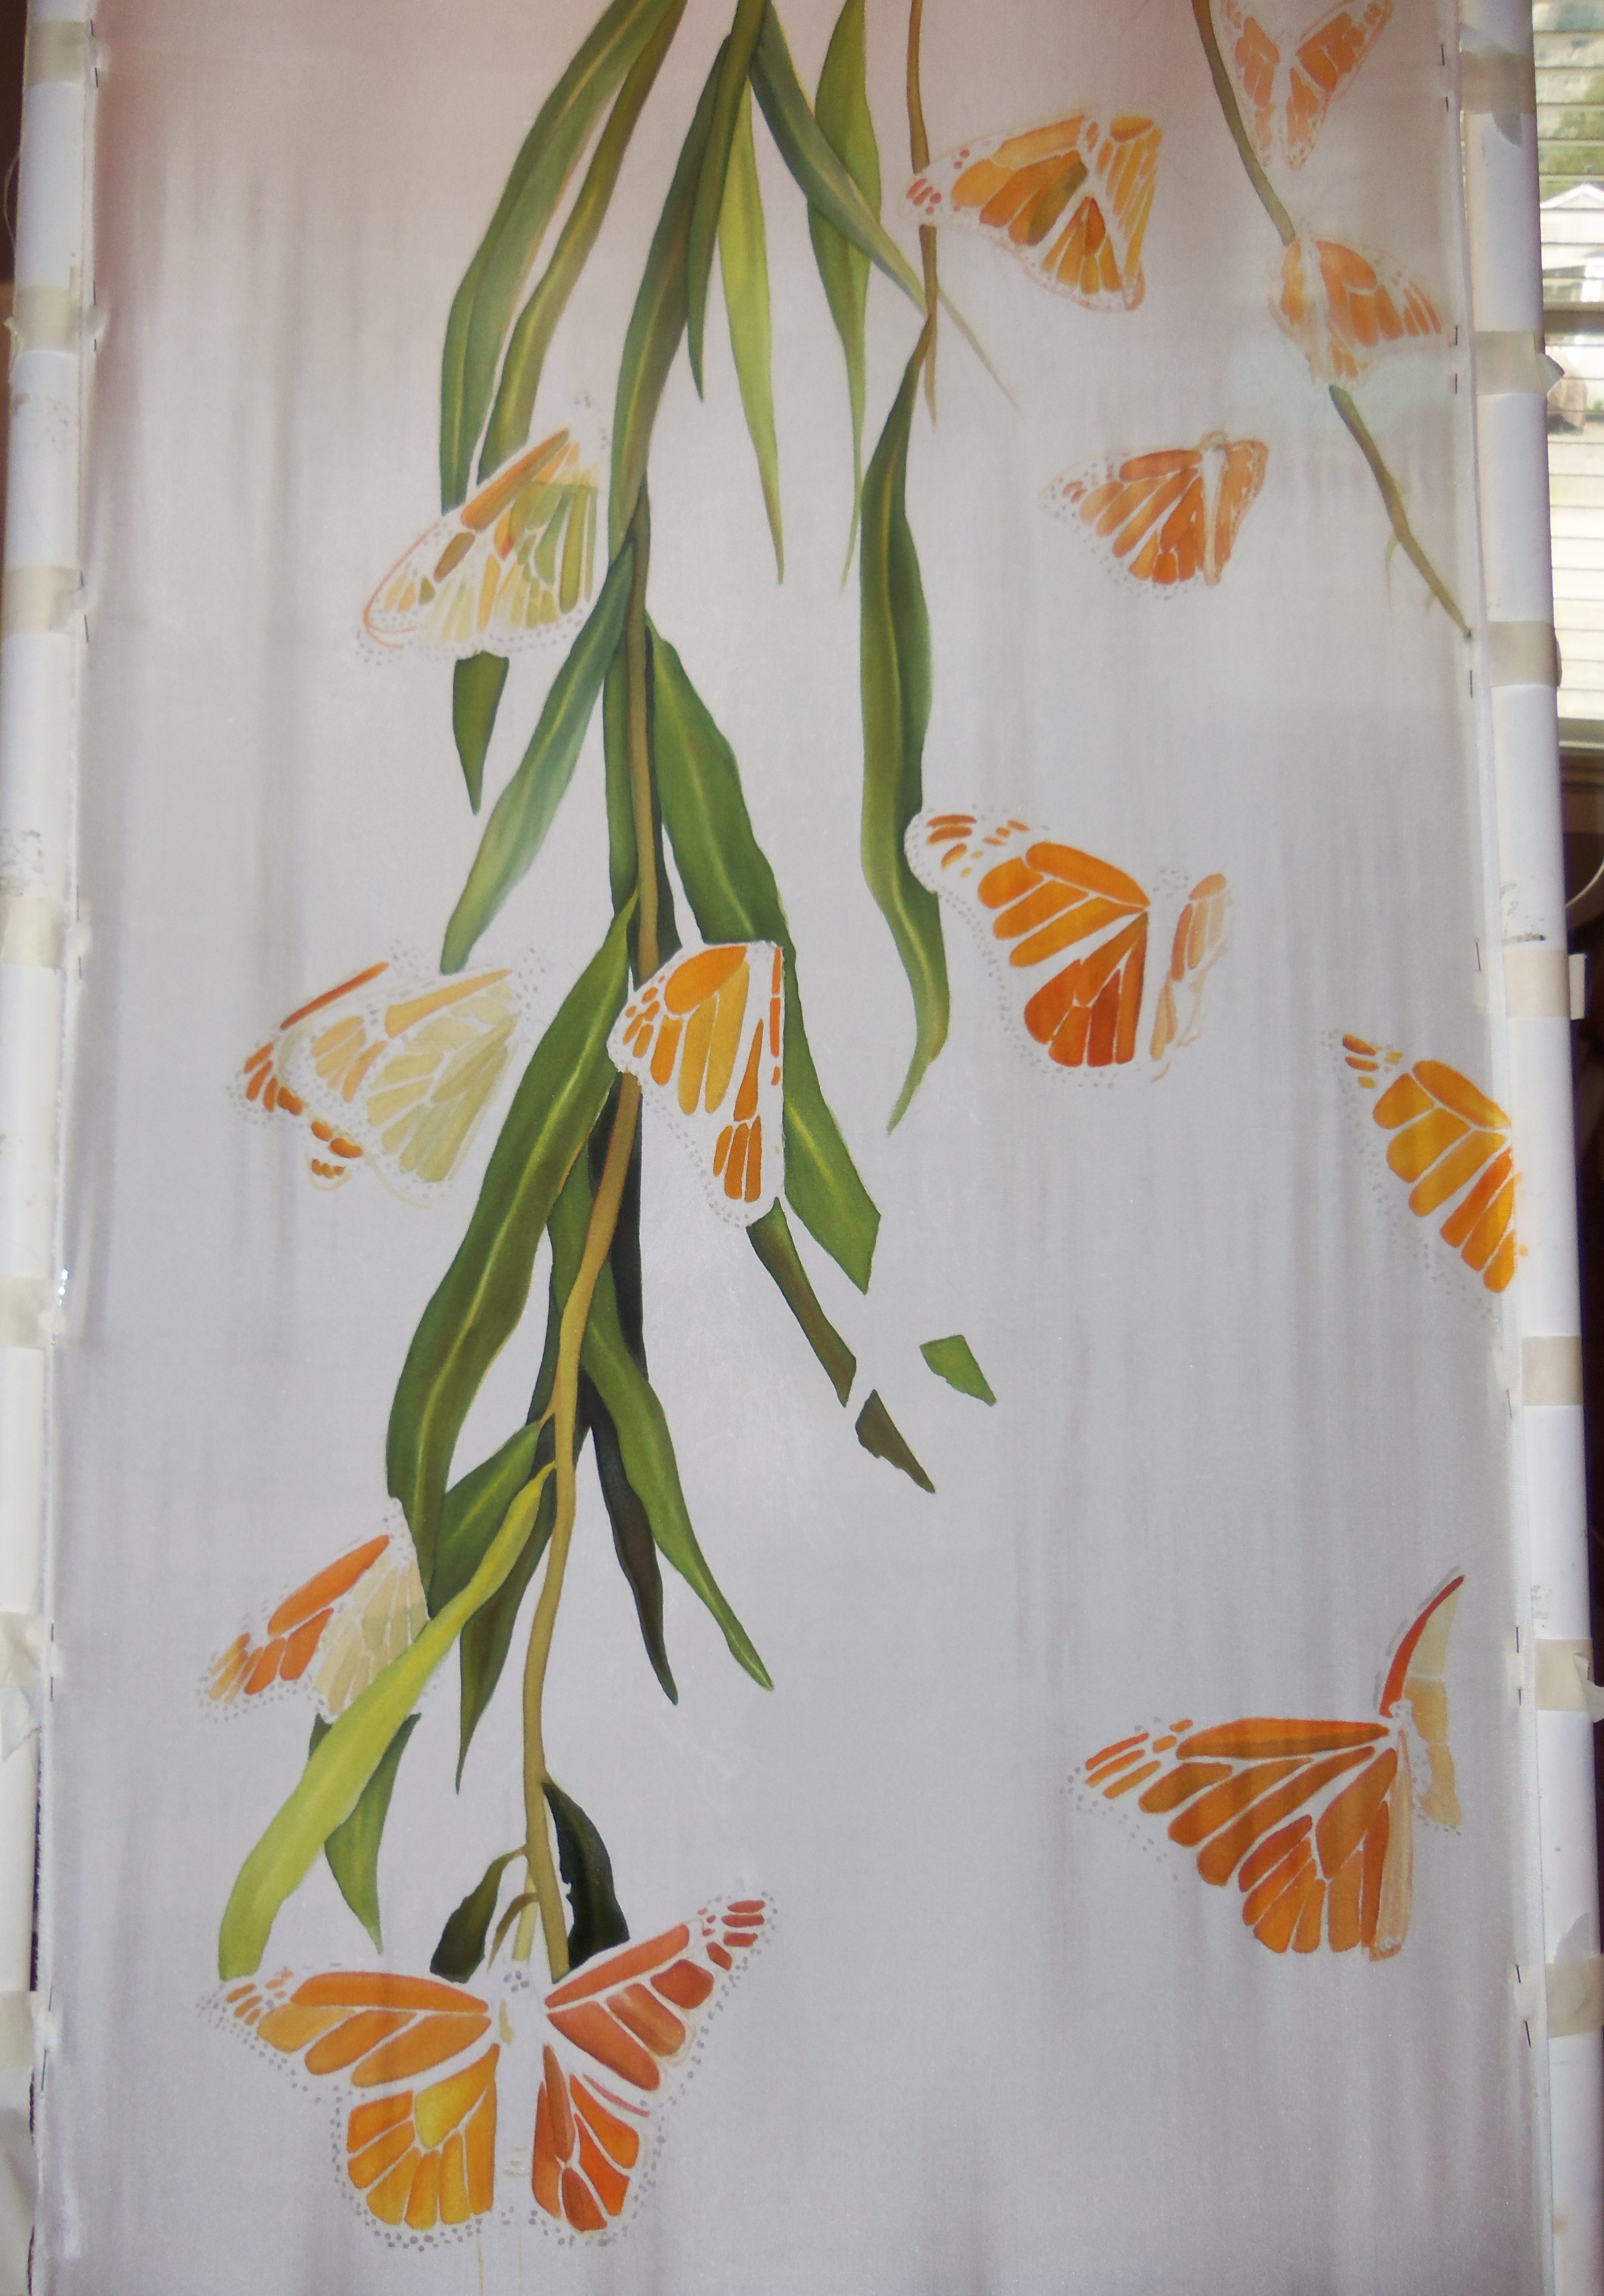
I’m also working with a photographer to bring some new challenge to my art. My Monarch Series is in the works. The first Monarchs “Morning Light” was a great challenge, but I enjoyed researching for it too.

How have you found your niche selling online? What advice can you offer the rest of us?

I try to offer a superior product with excellent Customer Service. I open a line of communication with each client and treat them like gold. Word of mouth has been the best marketing for me.

I’m still very new online with etsy. I opened my business account in 2011, but quickly realized I was not where I wanted to be as an artist. I put that on hold and took two classes with Master Silk Painters. Each have very individual styles and techniques that I wanted to be exposed to in order to learn to be a better painter. So, I’m changing and growing in a very dynamic way and I feel that my clients are enjoying the roller coaster ride of art change too! I take risks, offer lots of color and always challenge the everyday thinking.

What do you do you do when you are not painting?

When I’m not Silk Painting, I’m spending time with my family. We love the outdoors-camping, hiking, biking and fishing-me especially fishing! We all are Archery lovers, but my kids are getting better than me because I’m painting way too much these days.

Find Tina here:

Etsy

Tuesday, April 23, 2013

How to Wear a Silk Scarf

A scarf is the most flexible element of your wardrobe. For years it has been a fashionable accessory. From the youngest girls to the most experienced fashion ladies.


The scarf is a wonderful complement to any garment; coat, business suit or evening dress. A light silk accessory will add daintiness to your outfit.

There are many different ways to tie a scarf, but we mostly use just one or two. I was thinking that it would be interesting to involve some creativity in your daily outfit.

1. This is a very simple way to wear a scarf. Just place it on your shoulders! One end of the scarf you can move over the shoulder.


2. I think, this is the most usual way to wear a scarf. To twine the scarf around the neck once.


3. Take both ends of the scarf and tie them together.


4. Place your scarf on your shoulders in flat and tie the ends of the scarf together.


5. This is similar as previous example, just one side of the scarf is more flat but another is getting together.


6. One end of your scarf place on your shoulder in flat, but another end thread under the arm.


7. Fold your scarf in half and place the middle of your halved scarf at the back of the neck. Then put both ends of the scarf into the loop.


8. Fold your scarf in half and place the middle of your halved scarf at the back of the neck, with a loop on one side and the ends on the other. Then split the ends of the scarf and put one of them through the loop.


9. Tie a loop at one end of your scarf. Slip the other end of the scarf into the loop. Or you can tie your scarf as a neck tie, it will give you a similar effect.


10. Take both ends of the scarf and tie them together. Than, if you like, you can turn the knot to the one side.


11. Take each end of the scarf and make a knot.


12. You can wear a scarf on the waist. It will highlight the hip line.


13.,14. Try to tie a scarf on your head, it is very easy and looks really interesting and stylish.


15. Twist the scarf tight and make twice-around knot. Or you can twine the twisted scarf around the neck once and make twice-around knot.


16. Twist the scarf tight and wear it on your head or on your waist instead of belt.


17. And do not forget, that your scarf can be magnificent decor for your bag.